Showing posts with label DIY/Tutorial. Show all posts

Monday, August 18, 2014

DIY Felt Chocolate Chip Cookies

This was one of my favorite felt foods to make.  Well, really all kinds of cookies.


1: Cut out your circles.  my cookies are 2 1/2 inches in diameter.  The chocolate chips are approximately the size of a dime maybe a little smaller.


2: Blanket stitch your chocolate chips to two layers of the tan felt.  In the picture below you can see the two layers.


3: Blanket stitch around the outside of your cookies adding another layer of the tan felt.  So, you end up using three layers of the tan felt coolie circles.


And Done!  Now wasn't that easy.

Monday, February 24, 2014

DIY Fancy Chair Covers

 I used a $4 white sheet to make these.  First I measured the chair from the bottom over the top, down the front across the seat.  Cut the sheet to that length.  Second I measured from the seat to the floor and made three squares to cover the legs.  In the top-right picture I sewed on a triangle because the chair widened as it went out.  Then I sewed on the squares for the legs.  Lastly I put ribbon on the back of the chair so I could tie the back together.

For the red bows I got some red fabric and cut into four strips.  Sewed two and two to make two really long pieces.  I put right sides together and sewed around leaving one end open.  Flip.  sewed all around the whole thing closing off the open end.


This was a dinner for my brother in law to propose.  I plan on using them for a nice date night with my hubby.
The pictures aren't the best so if you have any questions let me know.
Link Party at The view from five ten

DIY Fabric Flower Arrangements


This last Valentines Day I wanted to send flowers for my sisters that live in town.  But when looking for real  flowers at the store they seemed like too much money for what you get.  I needed four bouquets.  For one rose, a vase, and a card it was $12.  Well, I will let you do the math.  So, I decided to make my own.  I made a trip to Joann's and spent around $15 on different colors of silk, and tulle.  I also got lace, beads, and wire.  I already had ribbon, felt, and cotton fabric.

After I gathered my supplies, I started looking for a few different ways to make flowers.  Here are a few I loved.sew ritzy titzy, Decorating Ideas Galore,gomakeme.  Those were my inspiration.

I did a few different things to make mine a little different.


When you get the stems all glued on put them in a vase or tape together and cover with ribbon for a bouquet.

Works Like a charm Listening Board


I combined a few ideas from pintrest for this Listening Board.  They start at the top and during the day if they are caught miss behaving, not listening and doing their chores the first time I ask they are moved down the chart.  Pretty simple.

After I made this my daughter asked me if we could make a chart that moved up when they were listening well.  So, that got me thinking...I thought yes we should have a reward attached to being good.  So, if they stay at the top they get a reward buck.  They get to choose how to spend them.  Some ideas are:
  • Ice Cream before bed
  • Redbox night with popcorn
  • Pick a prize out of the prize basket(filled with dollar store items)
  • Skip a day of chores
  • Extra computer time or WII time
They have to save up for these.  For instance ice cream is 5 reward bucks and redbox night is 10.

Also if the stay at the top they get two warm fuzzies into their jar.  When their jar is full they get to go out to ice cream with Mom and Dad.

This has worked so well for me and my girls.  I don't have to yell at them to do their chores in the morning and they get more fun with Mom and Dad.

Here are the jars I made for them to put the warm fuzzies.  I just used modpodge to glue the scrapbook paper on and then used stamp letters for their names.


What are some ways you help your kids learn to listen and obey?

Tuesday, February 4, 2014

DIY Felt Popsicle Tutorial


I used the blanket stitch for all the colored felt sewing.


I didn't get a picture of this but in the picture below the stick has some felt sewn around it.  I used just regular thread and needle with a whip stitch.


Huckleberry Love Link Party
And DONE!

Friday, January 17, 2014

Felt Mini Oreo Tutorial


These were probably the one felt food that I created without any tutorial or direction.  It was also the most enjoyable one I have done.  I had so much fun making these.  My sister thought they were real when she first glanced at them in the container.


So I had this container from our 72 hour kits.  We had recently rotated the food in our kits.  This is what inspired me to make it into Felt!


First you cut the felt into circles.  Mine are about the size of a Quarter maybe a little bigger.  You will want to make your black circles a little larger than the white ones.


Second I put two layers together for the outer cookie.  So, you will need four circles for one mini oreo.  I used the blanket stitch for both the outer cookie and the filling.  Here is one of the best tutorials on how to blanket stitch.


Third, I used three circles for the filling.  I tried two at first but felt it wasn't going to be thick enough.


So, here is some done.  I ended up making eight cookies so this is not all of them.


Fifth,  I put the cookie and the filling together.  To sew them you first take embroidery thread two thick.  Then I put it through the middle and out the top so the knot isn't showing.  Next I put the needle through all the layers to the bottom, but when I came back up I only went through the filling.  So I could put my needle through the top cookie in a different place on the cookie.  This way I was able to get the imprints without showing the movement of my needle.  I did this all the way around.  


Then I put them all in the cup to wrap for Christmas.  My girls totally love them.

Comment if you have any questions.

Also more felt tutorials to come.  Just to name a few sugar cookies, chocolate chip cookies, Popsicles.

Thursday, November 14, 2013

Family Home Evening Board

This board was really easy and fun to make.  All you need is 
a wood board any size depending on how big you want it. 
Nails
String or ribbon
Small, thin pieces of wood (mine are about 2" by 3")
Vinyl or you can paint your letters


Friday, October 11, 2013

Curtains for the kids rooms


These curtains were for my girls room in the basement.  It matches the quilts and pillows in THIS post.  They were't really ready to move down there.  So, it is the play room for now.  


 I made a pair of these for my sons room.  I think they turned out so cute and perfect for a little boy.  


Friday, September 27, 2013

Baby Gift


I loved this fabric so much that I bought a whole bolt of it at black Friday and decided that I should put it to good use.  My home teachers wife was having a girl so I thought, "Perfect!"  I made a set that included a blanket, burb cloth, and bib.


The bib is actually called a Bapron.  Click the link for full tutorial and pattern.  I have made a few for my little boy and I just love that he can't pull them off.


For the burb cloth I found this tutorial at MADE.  I thought it was the most simple design that I had found.


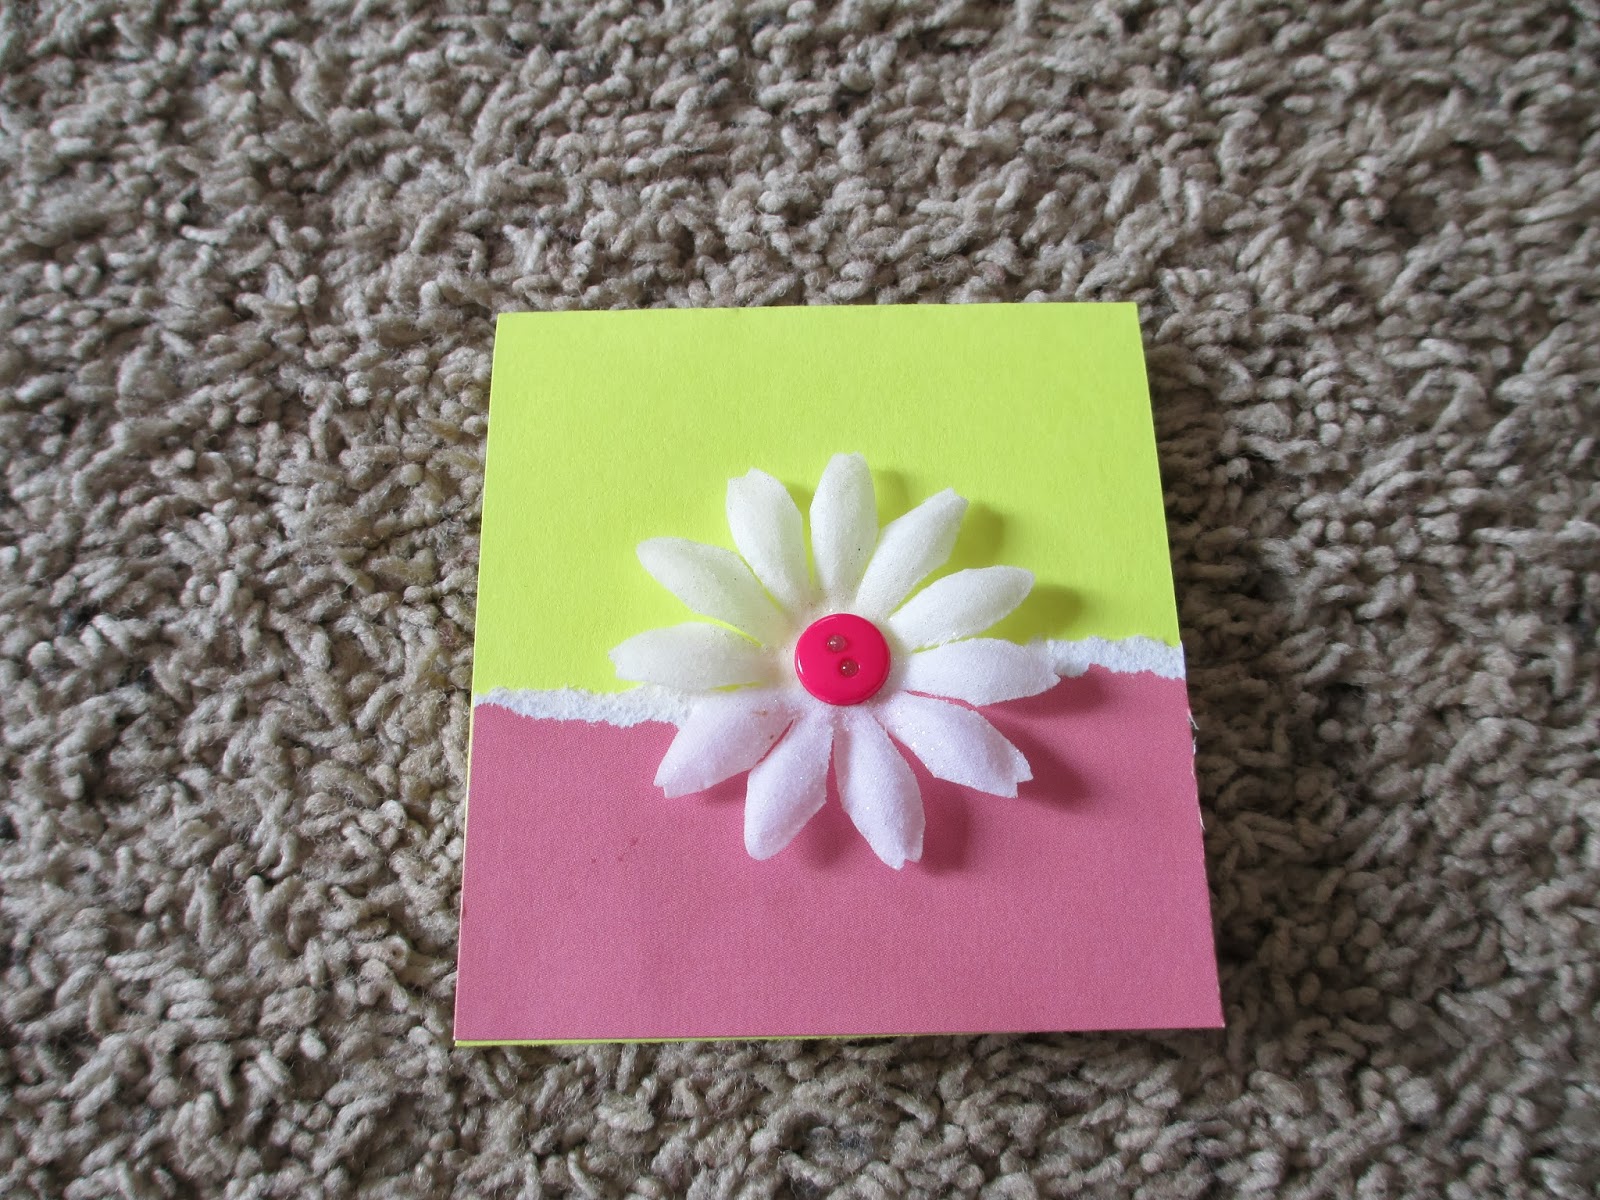
I made this card with just yellow paper and cut it to how big I wanted it.  Then I ripped the pink paper to how far I wanted it to come up on the card.  Hot glued the flower and the button I had on hand. 

I hope you like it.

Tuesday, September 17, 2013

Halloween Bean Bags


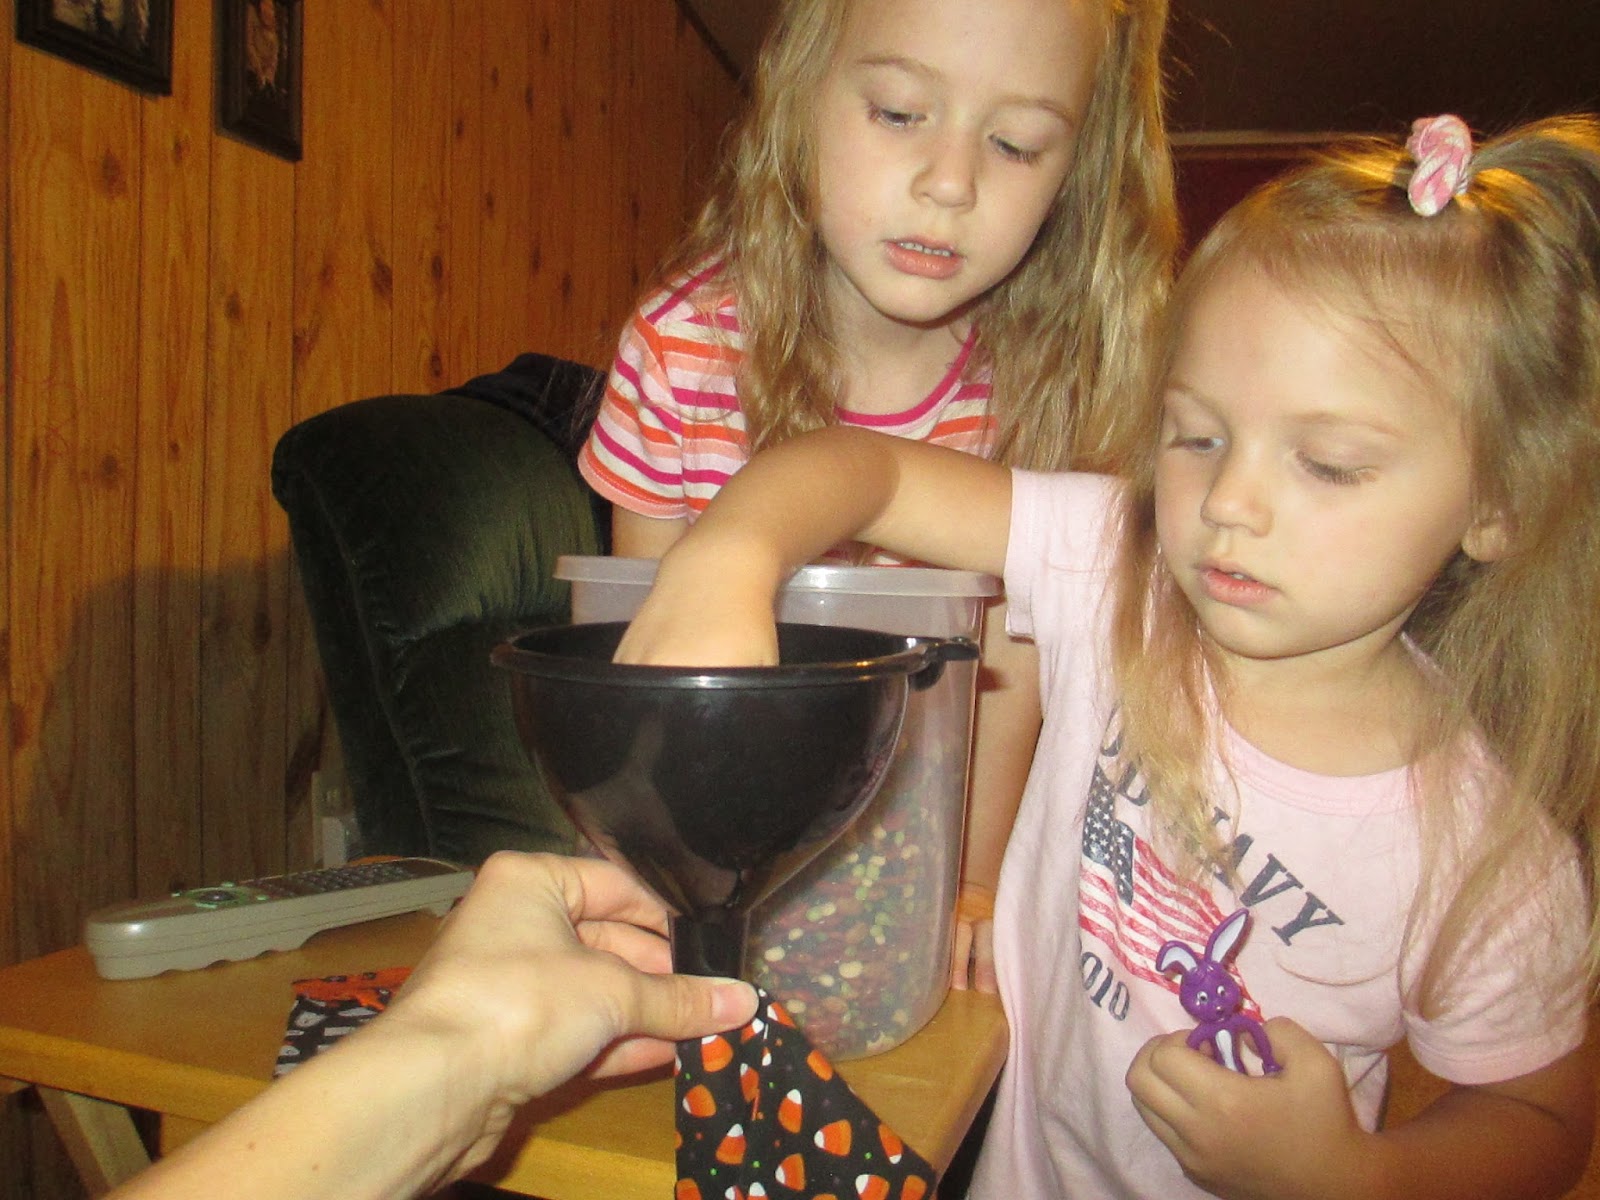
 First I found some scraps that I had from the place mats and candy bags I made for the girls a couple of years ago.  Then I cut them into rectangles 5 1/2 inches by 10 1/2 inches.


 After that I folded them in half hamburger style and sewed all three open sides, leaving 1 inch for filling with beans.   Then I ironed them.


Then fill them up till they are about 3/4 of the way full.


I then hand stitched the the opening.


Here they are finished.  I made these for my daughters Halloween Party in her Kindergarten class.  I can't wait to use them.  These were so fun and easy to make.


Tuesday, September 10, 2013

Cute Valentines Table Runner


I also sometimes keep this on the table through Spring because I just love the colors. 


1st you find any three fabrics that you like together.  The runner is exactly 1/2 yard.  So you will want 1/2 yard of the top and bottom fabrics plus a little extra for the accent hearts(I used a tan color flannel for the bottom of mine).  I actually just purchased a 1/2 yard of each to make matching pot holders to match.  Also you will want two layers of either flannel(which I used), or warm and natural if you will be doubling this as hot pads on your table.


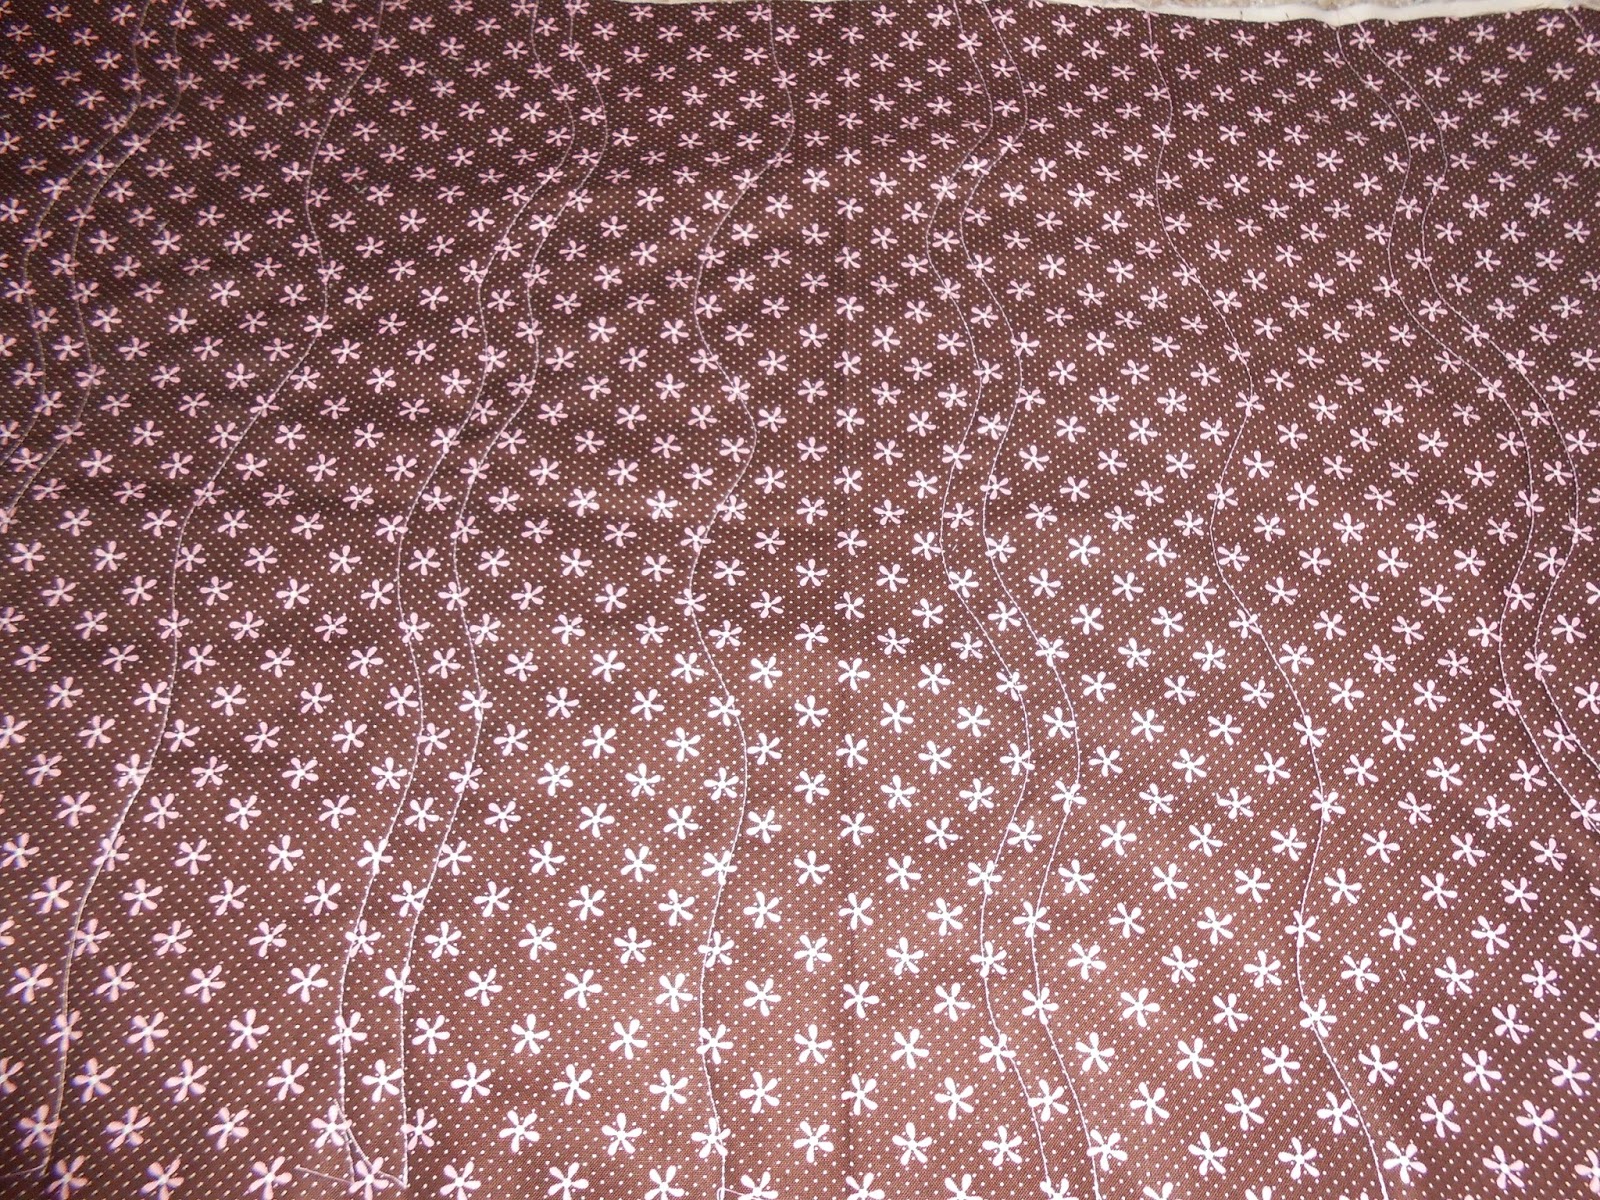
2nd Put all your layers together so they match on each side(the top and bottom with the flannel in the middle).  Quilt it how ever you like.  I am not an expert quilter so I just did wavy lines all the way across in a pattern I liked.


3rd Cut out your hearts.  I folded a piece of paper in half and cut out the shape I wanted so that it would be symmetrical on both sides.  I then used that as the pattern for my hearts.  I did two sizes of hearts so after I did my three big hearts, I cut a smaller heart out of the same big heart pattern so they would  have the same shape only smaller.
4th Next glue your hearts on the quilted runner.  I used Spray n Bond Fusible Adhesive.  I got this idea from Him & Her.  I love it so much more than pinning.


Here is the hearts all glued on.


5th Then sew around the edge of each heart with a zigzag stitch that is close together.


6th I took one of the accent fabrics and cut 2 in strips and ironed them in half.  Then I sewed both raw edges together on the front.


7th take the other accent fabric and cut 2 in strips iron them in half as well for the binding.  


8th I did my binding on the sewing machine.  Click HERE for a great how to video for that.


Here is the binding after it is finished.  Notice the the two layers.  I thought that was a nice touch.


Here it is all done.  Love when I get a project all finished.   Don't you?